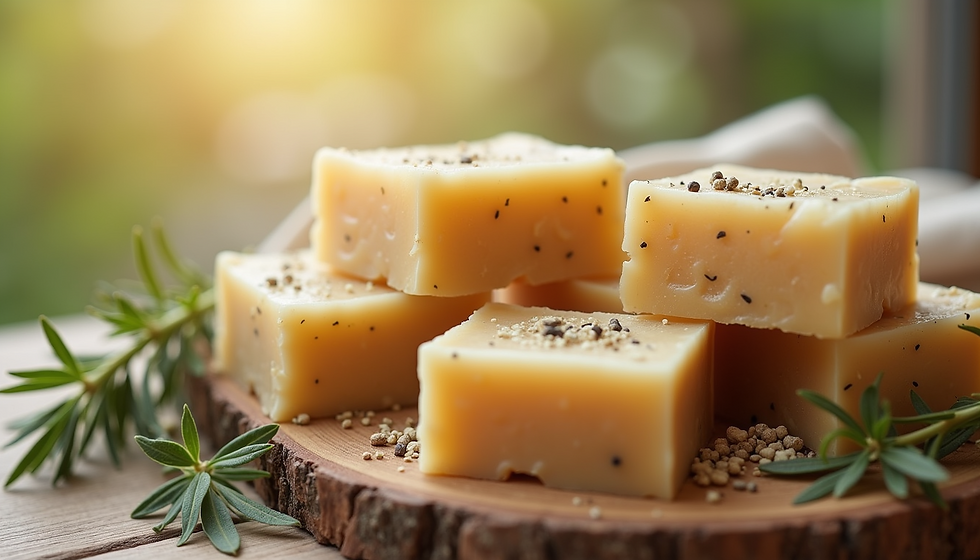
How Handmade Soap is Made: A Behind-the-Scenes Look
- DeShawn Marie

- Jun 16, 2025
- 4 min read
Creating handmade soap is both an art and a science. Each bar of soap is a product of careful planning, creativity, and a touch of personal flair. In this blog post, we will take a detailed look at how handmade soap is made, exploring the process step-by-step. Whether you’re a newbie or someone looking to polish your skills, there's something for everyone to learn.
The Basics of Handmade Soap
To understand how handmade soap is made, we first need to grasp the basics. Soap is essentially the result of a chemical reaction between oils and a strong alkali, usually lye. This process is known as saponification. It sounds complicated, but when broken down, it becomes manageable.
The oils used can vary widely, including olive, coconut, or palm oil. These oils contribute not only to the soap’s cleansing properties but also affect its moisturizing qualities. Using a variety of oils allows for different textures, scents, and benefits in the final product.

Ingredients in Handmade Soap
Next, let's take a closer look at the array of ingredients that go into making handmade soap. The key ingredients are:
Oils and Butters: These are the building blocks of soap. Common choices include:
Coconut oil: Creates lather and hardness.
Olive oil: Adds moisturizing properties.
Shea butter: Provides a creamy texture.
Lye (Sodium Hydroxide): This is essential for the saponification process. It's important to handle lye with care, as it can be caustic.
Water: Used to dissolve the lye. The ratio of water to lye can influence the hardness and lather of the soap.
Fragrance and Colorants: Essential oils add scent, while natural pigments or micas can provide color.
When selecting your ingredients, consider both the benefits they offer and how they complement each other to create the ideal soap.

The Soap-Making Process
Once you have your ingredients, it’s time to move on to the soap-making process. Here’s a step-by-step guide:
1. Preparing Your Equipment
Before anything else, ensure your work area is clean and all your tools are ready. You will need:
A scale for measuring ingredients
Mixing bowls
A stick blender (for mixing)
Soap molds
Safety gear (gloves and goggles)
2. Measuring Ingredients
Accurate measurements are crucial. Weigh your oils and lye carefully. As a rule of thumb, use a lye calculator to determine the exact amount of lye you'll need based on your oils.
3. Mixing Lye and Water
Always add lye to water, not the other way around. This will prevent a dangerous reaction. Stir until the lye is fully dissolved, then set it aside to cool down.
4. Melting Oils
Heat your oils until they are completely melted. Each oil has its own melting point, so it’s important to monitor the temperature.
5. Combining the Mixtures
When both your lye solution and oils are around the same temperature (typically around 100-110°F), slowly pour the lye into the oils. Using a stick blender helps in combining them to achieve a trace, which is when the soap mixture thickens and can hold a design.
6. Adding Color and Fragrance
Once you reach trace, it’s time to add your desired fragrances and colorants. Mix thoroughly but gently to avoid incorporating too much air.
7. Pouring into Molds
Pour the mixture into your soap molds. Tap lightly to release any air bubbles and ensure an even surface.
8. Curing the Soap
Let the soap rest in the mold for 24-48 hours. Once firm, remove it from the mold and cut it into bars. Allow the bars to cure in a cool, dry area for 4-6 weeks. During this time, the soap will continue to saponify and harden.

Safety Tips for Soap Makers
While making handmade soap can be a fun hobby, remember the importance of safety. Here are some tips:
Wear Protective Gear: Always use gloves and goggles when handling lye and lye solutions.
Ventilation: Ensure your work area is well-ventilated to avoid inhaling fumes.
Measure Accurately: Incorrect measurements can lead to harsh products. Use a digital scale for precision.
Keep Lye Away from Children and Pets: Store lye in a safe place, out of reach.
Getting Creative with Customization
One of the best aspects of making handmade soap is the ability to customize your creations. Here are some ideas:
Add Exfoliants: Incorporate ingredients like oatmeal, coffee grounds, or dried herbs for added texture and exfoliation.
Natural Colorants: Use ingredients like beetroot powder or turmeric for natural coloring options, which not only beautify but can offer skin benefits.
Unique Scents: Experiment with different essential oil blends. For example, combining lavender and tea tree oils forms a relaxing and soothing aroma.
The beauty of handmade soap is that the only limit is your creativity!
The Benefits of Handmade Soap
The advantages of using handmade soap extend beyond just skin benefits:
Natural Ingredients: Handmade soap is typically made from natural oils and butters, making it gentler on the skin compared to commercial options.
Customizable: Each individual can tailor their soap to meet personal preferences and skincare needs.
Sustainable Choice: Many handmade soap makers prioritize sustainability by using eco-friendly packaging and ethically sourced ingredients.
You may also purchase wholesale from us at handmade soap company for quality products if you're not inclined to make your own.
Discovering the Joy of Soap Making
As you explore the world of homemade soap, remember that practice makes perfect. Don’t be afraid to experiment with new ingredients, fragrances, and techniques. If a batch doesn’t turn out how you envisioned, take it as a learning opportunity.
Soap making is not just a craft; it's a journey of creativity and problem-solving. You’ll find a community of fellow enthusiasts who share your passion. Attend local workshops, join online forums, or follow social media pages that celebrate this artisanal trade.
Your adventure in handcrafted soap starts today—dive in, and enjoy the process of creating something beautiful and beneficial for your skin!


Comments